


Hello my dear crafty friends and welcome to PHP blog.
Today I am going to share my new layout made with PHP most
gorgeous products and my own most gorgeous baby granddaughter. But first the
story.
Usually as scrapbookers, we first print a good photo and then try
to buy or find some nice products to fit the photo. But sometimes, as it happened
with my layout, we first have the products and then try to arrange the photo
shot that fits those products.
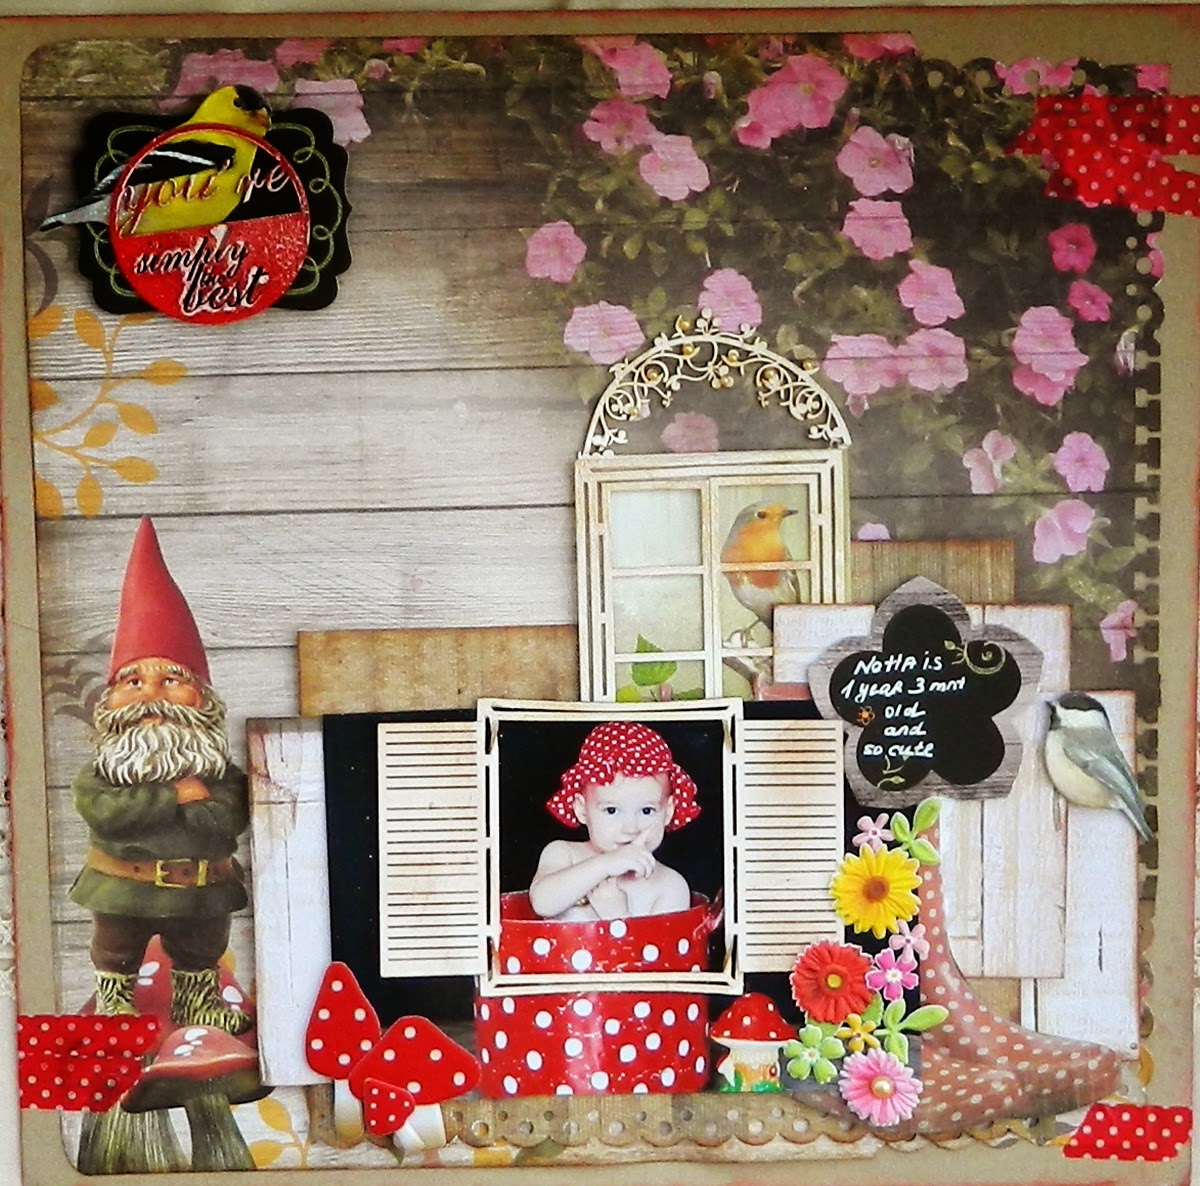
I had this basic patterned paper with a red dotted gnome with
mushrooms for at least 8 months and didn't find any proper photo to fit this
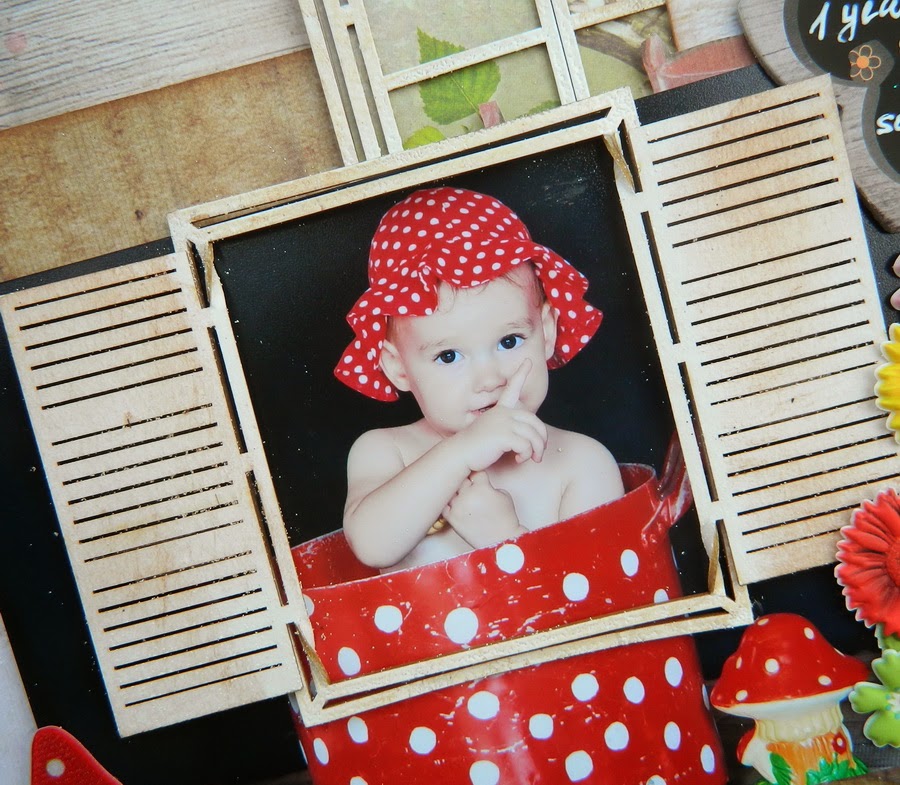
lovely pattern. When our Netta was one year old I took her to a studio photo session and between tons of
accessories I've seen this little gnome
and this red dotted huge pot and
I just demanded to make a frame within it to fit my beloved paper. So a dozen of
photos were made and all of them are great for this unique paper from non baby Garden
collection. Again, this page is an example of baby scrapping with non baby
products and the proof of PHPA themed versatility.
Product list:Cardstock: American Crafts
Paper: Paper House Productions (Garden, Rejoice)
Stickers: Chalkboard Littler Girl, Puffy flowers, Chipboard birds- Paper House Productions
Chipboards: Wycinanka
Punches: EK Success, Martha Stewart
Ink: Clearsnap, Ranger
Pearls: Flourish with a Bling
Fabric stickers: Flourish with a Bling
Embossing powders: WOW!Embossing powders
Other: washi tape
Step by step:
1. Ink the Kraft cardstock with red ink around the edges. Cut the basic paper 1/8'' around and punch with two punches here and there around the edges. Glue the punched paper over the Kraft cardstock.
2. Make few rectangles from two " wood" papers; add some punched border on the bottom of the biggest one. Arrange rectangles as shown and add a hand cut boots on the top.
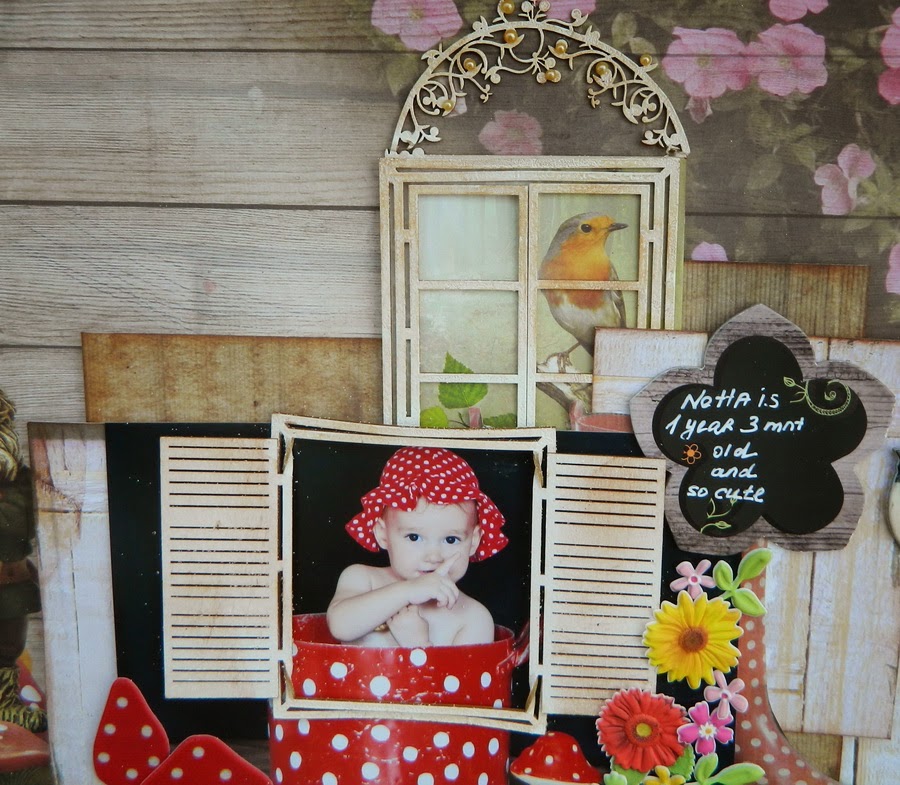
3. Hear emboss the chipboard window using clear embossing ink and white vanilla embossing powder. Ink the embossed chipboard with brown ink all over it. Add the bird piece of a paper into the embossed window and glue the window over the matted papers as shown. Glue the photo over the window.
4. Ink the chipboard shutters with brown ink and glue it over the photo.Arrange the puffy flower stickers near the corner; add a chalkboard sticker with white hand written journalling and a chipboard sticker bird over it.
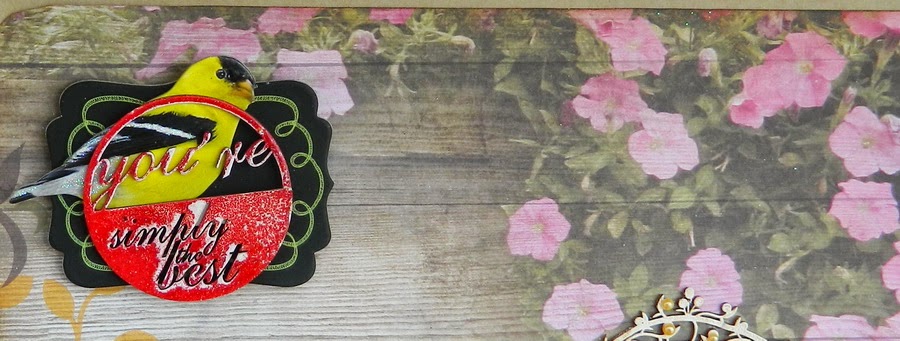
5. Heat emboss the title chipboard with the same white powder and then re- emboss it with red powder over. Adhere the chalkboard sticker, glue the red title over and add a bird.
Add 3 fabric mushrooms and some red dotted washi tape.


No comments:
Post a Comment