


Irit is here and this is my post made for Ann Butler's blog for November.
Wee all know that in our hemisphere it's fall going to winter. But as my favorite season is Spring, I decided to make a project in lovely spring colors and just to pretend it's a Spring time here.
So here is my small tutorial- easy to make bracelet made over DIYBANGLERS Ready to decorate wooden flat small size wooden bracelet.
1. Flatten Makin's white clay to fit your bracelet size . Use Makin's tools for the better result. Stamp over the flat clay strip, roll the stamped clay around the wooden bracelet and trim the edges.I used a strip from Ann Butler's Kellycraft 1'' Rail Fence Set. Let the clay dry.

2. Flatten another piece of clay; stamp with another stamp (I loved diamonds from 2'' Diamonds and Plaid Ann Butler's Faux Quilting set from Unity. Then cut all sizes of flowers with Makin's Flower cutters. I made one big, 2 medium and a lot of small flowers. Let them dry.

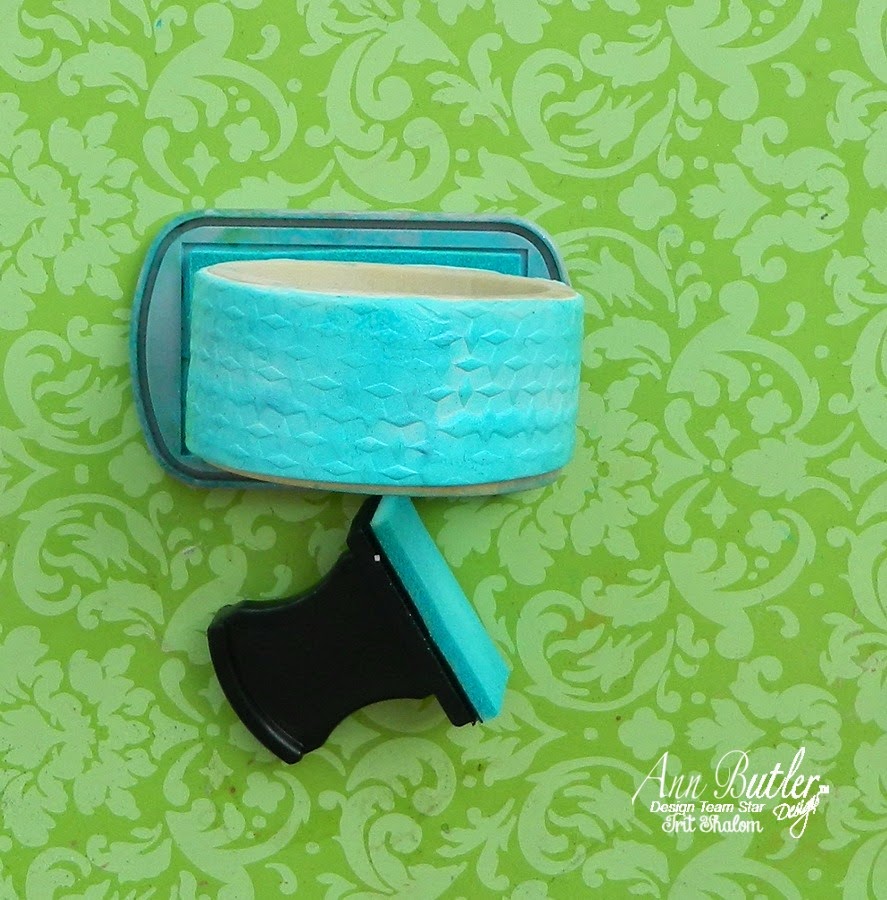
3. Ink the dry bracelet with Ann Butler's Aquamarine Clearsnap Crafter's ink.
You can use Clearsnap Color Blender tool or just to roll the bracelet over the ink as I did after all.
Dont' let it dry as we are going to heat emboss the inked pieces.
4. Ink your dry clay flowers with the same Ann Butler's Aquamarine ink and with Ann Butler's Berry and Limelight inks from Clearsnap.

5. Heat emboss the bracelet and all the flowers with Clear embossing Clearsnap powder and your heat gun. It make the color pops and now all clay pieces are bright and shiny and durable too.

6. Adhere your flowers over the bracelet with Beacon Zip Dry glue. This is a perfect glue for this craft project: you can arrange the flowers as the dry time is not too short and you can't see the clear leftovers if you have them.

And the 3d view of this finished craft project. I decided not to ink the inside wooden bracelet as I like the natural color, but you can paint the inside too if you wish to do so.

Thanks for reading this tutorial and hope you will do some similar projects with Ann Butler's delicious products.


No comments:
Post a Comment